Monday, December 22, 2014

Stickles carrying case

I love, love, love my Stickles. So, of course, I had to make a special carrying case for them (something as special as glitter glue shouldn't have to be carried in a boring plastic container). I picked up this lunchbox-style case at the dollar store - ugly design but with the addition of several Basic Grey patterned papers (all from the "Lime Rickey" set) and some decoupage'd tissue paper, a fabulous & fun case was born.

 
The original (ugly) box

Completed, altered box - isn't it bee-u-ti-ful

Holds all my Stickles with room to grow

Challenges:

Craft My Life - anything goes
Not Just Cards - anything goes

Christmas tag inspired by Tim Holtz

Inspired (OK, pretty much scrap-lifted in its entirety) from one of Tim Holtz's 12 tags of Christmas. The tag doesn't photograph great but looks really awesome live because the snowflake embossed clear plastic front sparkles.
  

Challenges:

Craft My Life - anything goes
Not Just Cards - anything goes

Monday, April 15, 2013

Storage for baker's twine and ribbon


I have to give credit to Amber at damask love for the idea and instructions on how to create this absolutely wonderful hanging display & storage unit for baker's twine. Amber's tutorial is really clear so I won't bother explaining anything about how this was created except to point out that instead of painting the wooden frame I decided to cover it with patterned paper. I used a sharp blade to trim around the designs and then sanded all the edges. It was finished off with a couple of coats of Mod Podge. It was a lot more work than painting would be but I'm pleased with the result.

I've hung the frame in my work area and just love how accessible the coloured twines and narrow ribbons are now.

Challenges:

Artistic Inspirations - anything but a card
Creative Craft Challenges - alter it
Hotshot Crafts - anything
Paper Crafting Journey - monochromatic
Unstampabelles - anything but a card

Wednesday, March 6, 2013

Gotta Catch 'Em All

I'm thrilled with the card I'm sharing today as it worked exactly how I wanted it to. My son had a birthday party to attend on the weekend and the card just had to be Pokemon based. I decided to try creating a card that looked like a Pokeball and opened up to show the birthday greeting.

Creating the Pokeball was actually very easy. I cut 3 circles using my Grand Calibur Circles die cuts in red, white & black. The red & white circles were cut in half and then 1/4 inch removed. I trimmed the black circle so that just 1/2 inch in the middle was left. The "ball" opens using brads as the hinge. The centre black & white circles are popped up separately and then I added a large padded brad in the very centre.

My son was thrilled with the card - especially because I found an image of the newest Pokemon starters to print off for the inside. While making the card I created an extra to donate to the Childrens Hospital as well. The only difference between the cards is the top section of the extra card is left blank.


Challenges:
2 Sisters - fairytale or fantasy
Dutch Dare - for a boy
Eclectic Ellapu - for a child
Papertake Weekly - anything goes
Pause, Dream, Enjoy - for a boy
Pile It On - birthday
Send A Smile 4 Kids - for the boys
 

Monday, February 25, 2013

Boys cards can't be beat

As a mother of 2 boys, I always need cards for males, so I'm really happy to have 3 cards to add to my stash for later use. Each of the cards uses Basic Grey "Oxford" papers and embellishments plus kraft card blanks.


Challenges:

Basic Grey Challenge - anything goes
Here Come the Boys - lots of layers
Eclectic Ellapu - masculine
Daring Cardmakers - hot chocolate (totally inspired by the colour
Lollipop Ladies - nerds

Inspiration:

Card #1:  Feeling Sketchy - sketch
Card #2:  Tuesday Morning Sketches - sketch
Card #3:  Seems a Little Sketchy - sketch
Inspired By - picture inspiration (picked this set of papers/embellies because of the school supply inspiration)


Sunday, February 24, 2013

Easter bookmarks

Still desperately trying to reduce my stack of supplies so that I can walk through my dining room again. I think I managed to use up about 1/2" worth of scrap paper by creating a stack of corner bookmarks (the book page slides in behind the bunny face so the ears are sticking out). These are my favourites - super easy to create, but cute as can be. I've made enough to use them for school Easter goodie bags. If you want to try making your own corner bookmarks there are a tonne of tutorials available online but my initial inspiration came from Positively Peaches Monster bookmark.


Challenges:
Allsorts - animals
One Stop Craft Challenge - for the kids
Hotshot Craft - anything but a card
Creative Belli - hearts
Deep Ocean Challenge - "B" (for bunny, bookmark & brown)

Sunday, February 17, 2013

What a Hoot

Another project created from some of my BFF Jacqui's stash. This time she gave me a page kit from Lickety Split and even though the page layouts included in the kit were adorable, I decided to instead convert it into a mini album.

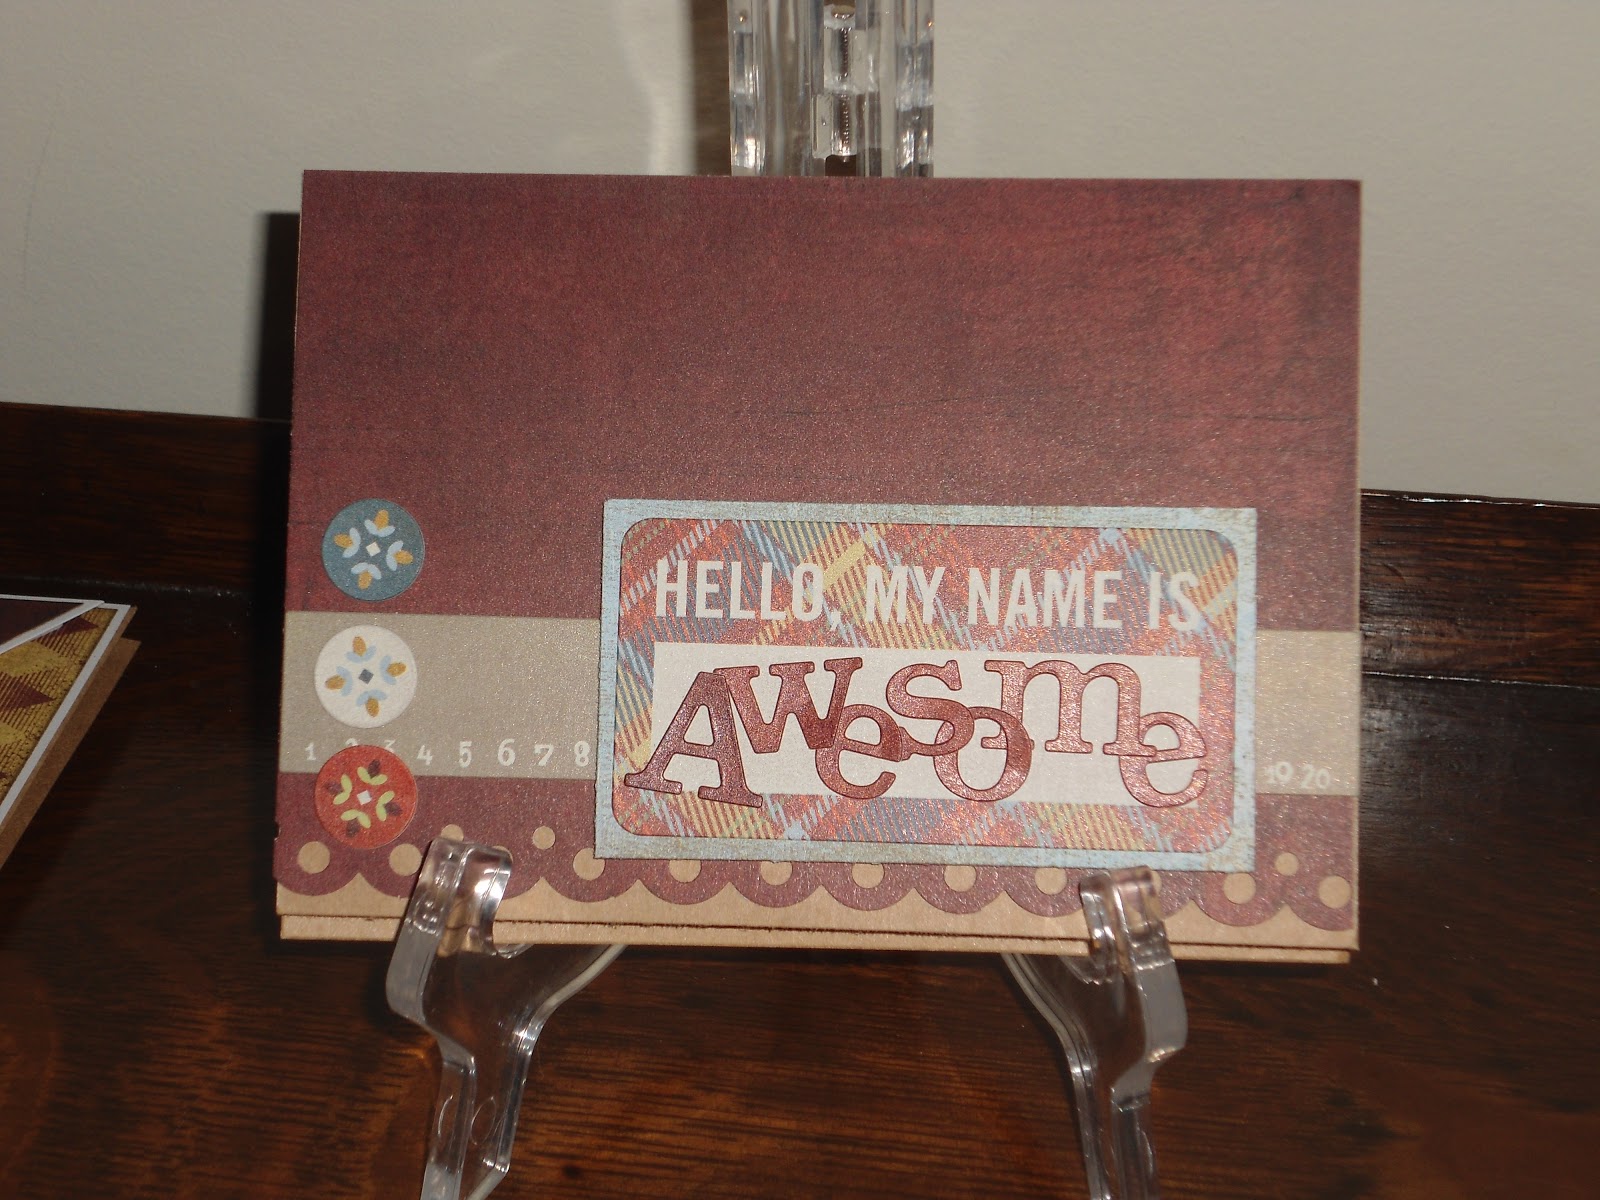
I included both chipboard and acrylic pages but otherwise kept the album design simple since the papers were so busy. All of the embellishments (flowers, leaves, brads, die cuts) came from the page kit - all I added was some cardstock and the album pages. Oh, and instead of binding the pages with rings, I used ribbon from my own stash.
 
I can't get over how quickly this album came together. So easy when all the papers & embellies are together. And even though I didn't use the page design provided in the kit, it really helped to give me ideas. Also so much easier when I just sit down and do it instead of over-thinking the process!
 
Challenges:
Glitter n Sparkle - anything but a card
Allsorts - things with wings
Alphabet Challenge - anything with wings
Hotshot Craft - anything but a card