Showing posts with label basic grey. Show all posts

Thursday, January 15, 2015

Bath-time for foster kittens

My family fosters 3-4 litters of kittens for our local animal shelter every year. Taking care of these tiny creatures is a lot of fun for my kids (a lot of extra work for me, grumble grumble) and living in a family home makes the kittens a lot easier to adopt.

I have to be honest and admit that, for the most part, I don't like kittens - they are messy, destructive, demanding, and there isn't a lot of personality. Yes, they are cute and adorable and watching their antics is better than TV. But young kittens are all pretty much the same and it isn't until after they leave our foster home that their personalities develop and they become individuals. 

But every once in a while there will be a special kitten or litter that does stand out. Late last year we fostered a litter of orphans who stood out, although not for their personalities. These little monsters were eating on their own - barely - but this involved them swimming in their food. Every meal, every kitten needed to be bathed. This went on for almost 2 weeks. 

This month's major case file challenge at Color - Stories - Inspiration (CSI) used a grumpy cat image for inspiration and I immediately thought of this bunch of kittens for a layout. So here is my entry:


I used scrap papers from a couple of Basic Grey collections and the filmstrip is a digital stamp. The layout and colours come from the CSI inspiration board:

Another challenge that inspired me:
  • Love to Scrap! Challenge Blog - use a stamp (digital photostrip) and use at least one item starting with blog initials. L(ayers) - T(iny kitten) - S(tripes) - C(omputer journaling) - B(asic Grey papers)

Wednesday, January 14, 2015

It took 70 years to get this awesome

Today I'm sharing a layout that I just completed celebrating my father's 70th birthday. Although I'm not thrilled with the final page, I keep reminding myself that it's better to have finished pages than perfect pages. LOL.


I used a piece of green cardstock for the background but added watery paint to create a watercolour effect. I also used paint (Tim Holtz Wild honey) to edge all the papers and drag across the background for more texture. The rub-ons and pattered papers are all scraps from Basic Grey Lime Rickey.

I found inspiration in many places:


  • CSI provided the colour scheme and prompts 

Monday, December 22, 2014

Stickles carrying case

I love, love, love my Stickles. So, of course, I had to make a special carrying case for them (something as special as glitter glue shouldn't have to be carried in a boring plastic container). I picked up this lunchbox-style case at the dollar store - ugly design but with the addition of several Basic Grey patterned papers (all from the "Lime Rickey" set) and some decoupage'd tissue paper, a fabulous & fun case was born.

 
The original (ugly) box

Completed, altered box - isn't it bee-u-ti-ful

Holds all my Stickles with room to grow

Challenges:

Craft My Life - anything goes
Not Just Cards - anything goes

Monday, February 25, 2013

Boys cards can't be beat

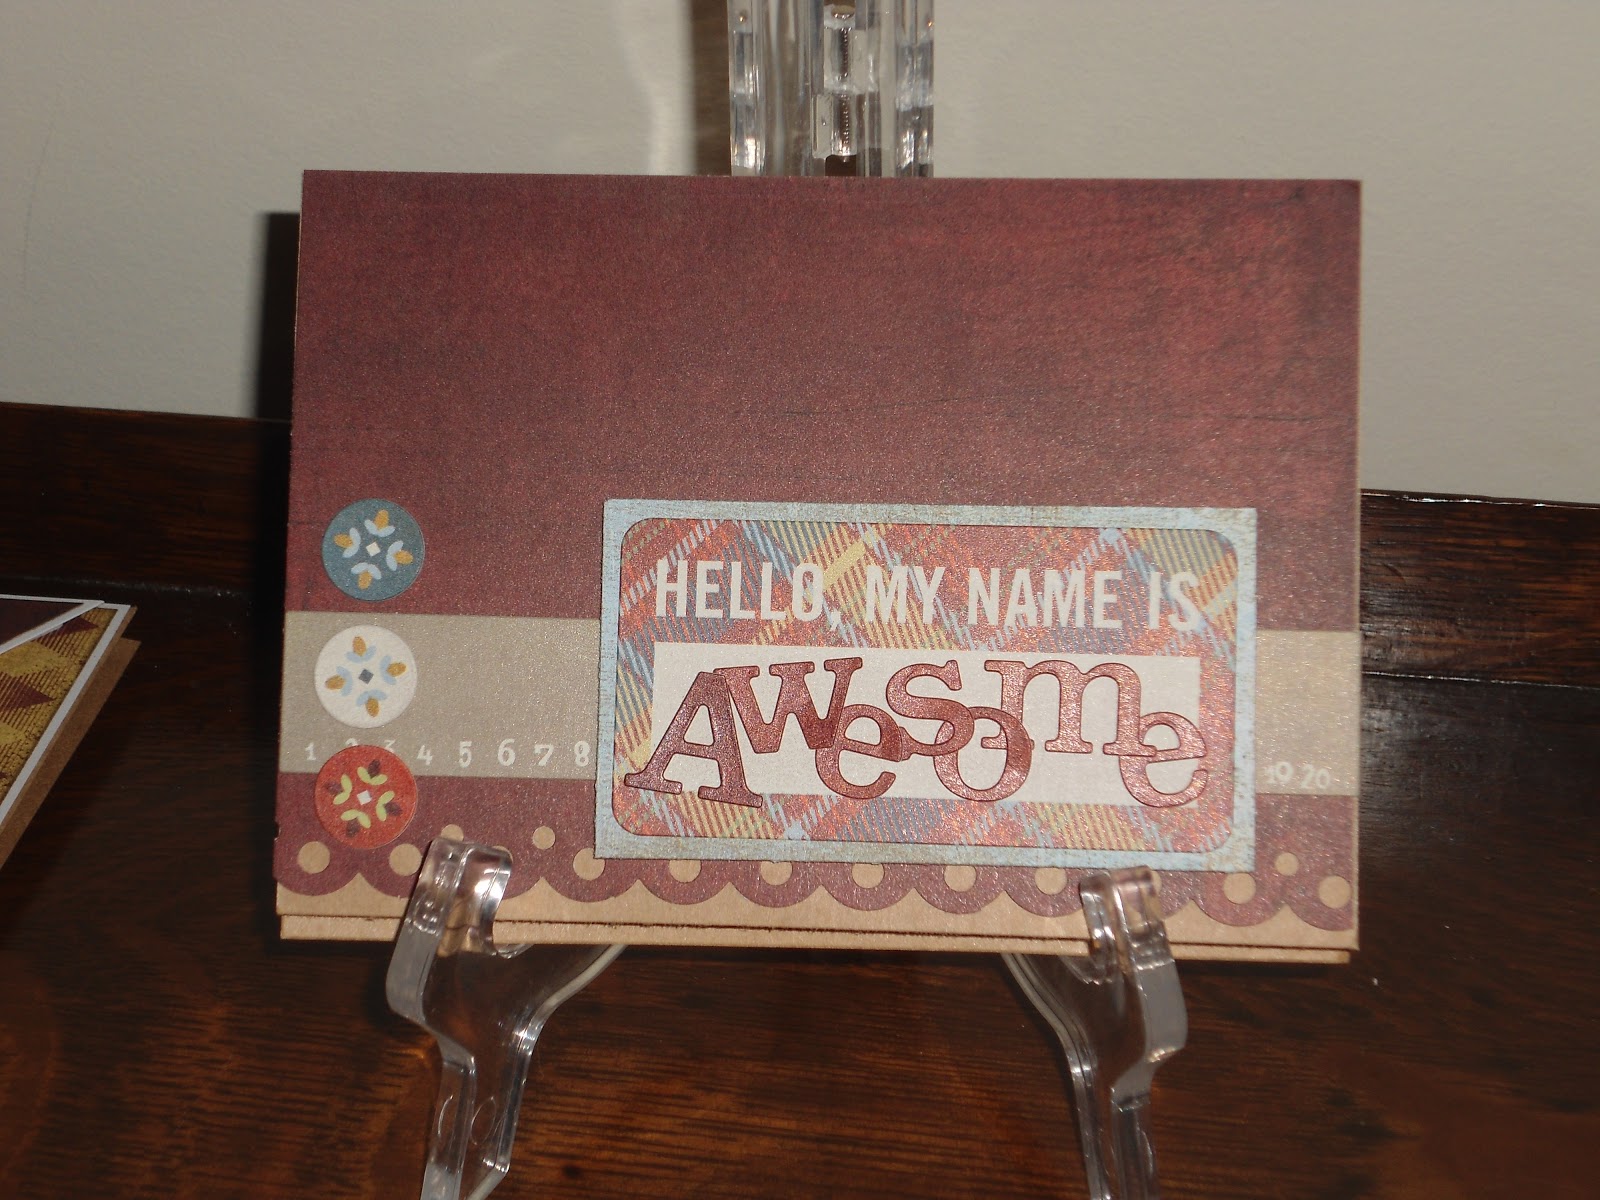
As a mother of 2 boys, I always need cards for males, so I'm really happy to have 3 cards to add to my stash for later use. Each of the cards uses Basic Grey "Oxford" papers and embellishments plus kraft card blanks.


Challenges:

Basic Grey Challenge - anything goes
Here Come the Boys - lots of layers
Eclectic Ellapu - masculine
Daring Cardmakers - hot chocolate (totally inspired by the colour
Lollipop Ladies - nerds

Inspiration:

Card #1:  Feeling Sketchy - sketch
Card #2:  Tuesday Morning Sketches - sketch
Card #3:  Seems a Little Sketchy - sketch
Inspired By - picture inspiration (picked this set of papers/embellies because of the school supply inspiration)


Wednesday, January 30, 2013

Bird bringing best wishes

Today's card didn't photograph very well - the white flowers look way brighter than they really are. Believe it or not but this card started as a napkin! The centre block is cut from a napkin with paper clay added under the bird to create a 3-D look. Once everything had dried enough I added touches of H2O's to the bird & surrounding flora to create a bit of shine.
I have to give credit for the idea (of using napkins and clay) to Debi as she taught this technique at a class at Country Lane Scrapbooking. My only complaint about how the bird worked out is that the backing cardstock wasn't thick enough and so it warped as it dried. I was able to flatten it enough through the use of lots of Sookwang tape and a heavy book but I also matte the image several times to give it even more stability.

To turn the bird into a card I used the sketch at Sketch Saturday - I like how the ribbon is woven through the layers of matting.  The background paper is Basic Grey plus gold foil paper and brown cardstock from my stash.

Challenges:
Top Tip Tuesday - luscious layers
Paper Playtime - use some brown
Scrappy Frogs - something new (new technique)
My Tme to Craft - things with wings
Sketch Saturday - sketch

Friday, January 11, 2013

Resemblance to dinos is pure coincidence

A couple of friends are hitting landmark birthdays this year and when I saw Lucy Abrams' card in the January/February 2013 issue of Paper Crafts Magazine (page 55)  I just knew that I had to scraplift the design. I printed the sentiments directly onto kraft card blanks (in case you can't read it from the picture, I've put the sentiment text below the photo). The dinos (from Dustin Pike's Doodle Dragons Studio) are printed on patterned paper and then paper-pieced and coloured. The papers are all from Basic Grey "Granola". The grey ribbon is an upcycle item as it came wrapped around a blanket that I bought a couple of months ago (love "free" stuff).
*Image is for entertainment purposes only. Any resemblance to a real person (i.e. you) is purely coincidental. 
Challenges:
Charisma Cardz - birthday
365 Day Cards - kraft
ABC Challenges - CAS
Tammy's Scrapin Corner - manly cards
Basic Grey Challenges - anything goes

Tuesday, December 18, 2012

Christmas sparkle

A quick post today as my youngest is nagging me to have his turn on the computer. The card I'm sharing with you today is a simple Christmas card with tonnes of glitter and sparkle. The digital stamp is from Bugaboo and is coloured with Copic markers. The Christmas ornaments he is sitting on are peel-off stickers on acrylic - I then used Stickles glitter glue to colour in the different sections. By popping up the cut-out ornaments, the sparkle quotient is maximized! The background papers are Basic Grey.

And now off the computer I go so that my DS can watch those so-very important you-tube videos.

Challenges:
ABC Challenge - Deck the halls
Basic Grey Challenges - Christmas
Card Makin' Mamas - Christmas
Copic Marker Europe - Christmas
Crazy Challenge - Christmas time
Emergency Crafters - Deck the halls
Jingle Belles - anything Christmas
Top Tip Tuesday - anything goes Christmas

Friday, November 30, 2012

Winter wonderland

OMG - it's the last day of November and I've barely started on my Christmas cards! I have a few special cards made but the bulk are sitting on my dining room table in various states of completion (and, OK, by completion I really mean that they are hardly even imagined). Panic can be a good thing sometimes - I spent the evening cranking out creating a batch of cards inspired by a gorgeous card I discovered at Splitcoast Stampers.

I started out by die cutting the frames and deer (Memory Box "Debutante Frame", "Orchard Frame", "Deer Trio") from white cardstock. I then embossed the background frame (using Sizzix "Christmas Dots #5"), first spreading distress ink (Tim Holtz "Broken China") on the folder to create the snowy background. I wanted the deer to really stand out, so I inked a second die cut with the same "Broken China" distress ink and layered it behind & slightly off to create a shadow.

The patterned papers all came from my stash - Basic Grey "Nordic Holiday" and 3 Bugs in a Rug "Snow Much Fun".To tie the reds in the snowflake paper in with the red strip and poinsettia, I added some dots of Stickles "Candy Cane" glitter glue in the tree branches and poinsettia centre. The final touches were Stickles "Star Dust" dabbed along the snowy ground and then some inking around the card edge.

Sure sounds like a lot of work but these cards actually came together pretty quickly. The most difficult aspect was keeping my cat from stepping on the drying glitter!

Anyway, off to get some sleep. Tomorrow will be a busy day of decorating the house and hopefully making more cards!


Challenges:

There are tonnes of challenges for Christmas cards right now so I'm going a little crazy with my entries.

Crafts 4 Eternity - Christmas
Crimbo Crackers - Anything Christmas
Divas by Design - Sparkle & glitter
Fussy & Fancy - Christmas
Jingle Belles - Anything holiday
Little Red Wagon - Include a tree
Oldie But a Goodie - Let it snow (plus use older item - papers are all over a year old)
Partytime Tuesdays - Anything goes
Tuesday Throwdown - Lots of layers
Simon Says Stamp - Anything goes

Saturday, November 10, 2012

Cooking up a set of cards

I've been trying to create some order from the chaos of craft supplies (sadly I spend more time organizing and sorting than actually creating) and came across a set of cardstock stickers & die cuts (from J Ellory Designs) that I bought/got free ages ago. One of the challenges this week at 365 Cards was to create a set of cards and so I was inspired to finally use the stickers/die cuts for just this purpose.
I chose Basic Grey's "Nook & Pantry" patterned papers along with some dark red cardstock for my papers. I really like how the darker red cardstock highlights the reds in the die cut/stickers. Two of the cards use sentiments from the die cut pack and the third has a computer-generated sentiment. I thought it would be nice to have an assortment so they are all somewhat general to be used for a birthday or "just because".

For the designs I chose sketches from 3 different sites:


Challenges:
Crafty Catz - anything goes
Pause Dream Enjoy - food & beverages
Pennys Paper-Crafty - lots of layers
Raise the Bar - birthday
Simply Create Too - use your stash

Tuesday, November 6, 2012

Birthday quilt

My birthday was this past weekend and one of my gifts was the Spellbinders Hexagon Nestabilities set. I used it right away to create this birthday card:
The design of the card is inspired by this week's sketch at Clean & Simple Stamping. I like the way the stars on the sketch cascade down the side and thought it would work equally well to have quilting blocks cascading. The papers are all from Basic Grey and the sentiment is computer generated (I found the saying by doing a Google search for quilting quotes). I wanted to maximize the white space and keep the overall layout simple so the only embellishment I used was a white pen to add in stitching. For some reason the photo makes it look like the bottom of the card is yellowish but actually the colour is white just like the rest.

Challenges:

Monday, November 5, 2012

Vintage Christmas ATC

I've decided to try my hand at making some ATC's (artist trading cards). My first ATC has a Christmas theme and uses Basic Grey papers and embellishments along with a photo of little, old me sitting with Santa Claus.
I chose a corrugated cardboard background that has been distressed with Tim Holtz' Walnut ink. The patterned papers and embellishments are all from Basic Grey. The photo was originally in colour so I converted it to black & white and then lightly inked the edges and across the front to give it more of a vintage feel. I particularly like the flower embellishment as it feels like leather - great texture. I imagine that I'll end up adding the ATC to a card base at some point - don't you think it would make a cute Christmas card?

Challenges:
Basic Grey - anything goes
Craftyhazelnut's Christmas Challenge - use 3 design papers
Crazy 4 Challenges - anything but a card
Divas by Design - festive
Eclectic Ellapu - vintage
Jingle Belles - sketch 
Just Keep On Creating - anything Christmas
Live and Love Crafts - anything Christmas

Tuesday, October 23, 2012

Twisted Trick or Treat

UPDATE:  My card was chosen as one of the Top 3 at Forever Night! I'm just thrilled to be included among such wonderfully creative & creepy cards.

---------------------------------------------------------

I'm hoping that my BFF Jacqui is too busy to check any blogs but if not, Jacqui, please stop looking now!

OK, so today I'm sharing the Halloween card that I created for Jacqui and normally I'd wait until it arrived before sharing it on my blog but there are so many challenges right now with Halloween for a theme and I just love entering challenges, so ...
 
Sorry about the picture being a bit blurry but honestly, it doesn't really hurt the look of the card (lol). The card front started as a tag (made a couple of weeks ago in a class at Country Lane). I trimmed the top and then added a couple layers of patterned paper (Basic Grey). The final - and my favourite - touch is the netting wrapped and tied along the top. The net is actually recycled from a Halloween treat bag! I just love the ragged look of the knot. In case you didn't see the first post, the images on the tag are Stampotique and Tim Holtz and the background was created using Dylusions sprays.
 
Challenges:
2 Sisters - Halloween
Card Makin' Mamas - Halloween
Come and Get It - Halloween
Crafty Calendar - All things spooky w/ optional recycling
Forever Night - Anything goes / picture inspiration (I think my girl has as much attitude! lol)
Loves Rubber Stamps - Get your spook on it's Halloween
My Sheri Crafts - Halloween
Party Time Tuesdays - Trick or Treat
Pile It On - Any holiday
Pink Elephant - Halloween
Sentimental Sundays - Halloween
Sweet Stampin' - Halloween
Top Tip Tuesday - Halloween
Tuesday Throwdown - Halloween


Friday, October 12, 2012

Pretty patchwork envelope

I'm in love with this birthday card that I made for my niece. First off, it uses products from some of my favourite companies (Basic Grey for papers, Pollycraft for the digi, Spellbinders for the dies) but it also gave me a chance to try a new technique!

The image is an old one from Tales from Pollycraft (the store is closed down but you can still get her images from Little Miss Muffet Stamps) and it is perfect for my niece - swear it even looks like her! I coloured the image using Copic markers. All of the papers used on the card are from Basic Grey. The digi is framed using a Spellbinders die cut and the sentiment is a rub-on over another Spellbinders die cut.

I wanted to make a long card but didn't have an envelope that would fit - instead of making an envelope, I used one of those reply envelopes that you get inside bills and altered it according to an article I recently read (which magazine? hmmm). It was such fun digging out scraps of paper and gluing them to the envelope. I finished off by running a brayer over top so everything was really adhered. And "voila" a custom envelope that also used up a bunch of paper scraps from my ever-expanding bucket oh scraps!

That's it for now although I'll be posting soon with another birthday card for another niece ... reminder to self: finish that card ASAP before I miss her birthday! LOL.

Challenges:
Card Mania - happy birthday
Craft Us Crazy - children
Crafts and Me - anything goes
Divas by Design - anything goes
Simon Says Stamp - dies/punches

And these challenges for the envelope only:
Craft Room Challenge - alter it
Party time Tuesdays - anything but a card
Penny's Paper-Crafty - anything but a card
Unstampabelles - recycle/repurpose

Tuesday, September 25, 2012

Have an a"maze"ing Halloween

I had some spare time so I made up a few Halloween cards for Send a Smile 4 Kids. I think these will be quite popular based on my own kids' reactions - they totally tried to snag a card each! I can't imagine anything more boring for a child than being in the hospital so I hope these mazes give them even a couple of minutes of amusement.
I picked up the mazes at the Dollar Store for 4/$1. The images inside the mazes were pretty lame so I used an exacto knife to cut open the maze and then replaced the images with pre-coloured digis from Doodle Dragon Studio. A little dab of glue sealed the maze back up no problem. For the purple cards I embossed plain cardstock and then lightly ran black ink to pick up the pattern. It gives a nice distressed look and also coordinates well with all the blacks in the patterned papers (from Basic Grey). I used sketches from 2 sources:

 
I also have to thank Kimber McGray for the idea of using mazes on cards. I picked up the idea at one of her classes at the Burnaby Crop & Create. Happy Halloween (1 month early) to you all!


Challenges:

Sunday, July 22, 2012

Welcome baby card

Today's cards is a re-do of a baby card I made a while ago - unfortunately the cat spilled iced tea all over the earlier version of the card. Luckily the image was pretty much unaffected because I really love how the colouring worked out. I chose a sketch from Fetch a Sketch and I'm quite pleased with the new design. The top edge of the image was stained but a handmade flower fixed that flaw (the flower is made from fabric petals pulled off an inexpensive flower stem bought at Walmart last year).
Supplies:
  • Scalloped circle, Spellbinders
  • Digital stamp, Mo's Digital Pencil Too
  • Copic markers
  • Patterned paper, Jillybean
  • Patterned paper, Basic Grey
  • Flower, made from petal stash
  • Button, stash

Challenges:
Colour Me Creative - anything goes with girly twist
Cute Card Thursday - fairy inspired
Fab n Funky - make your own flower
Fetch a Sketch - sketch
Mema's Crafts - anything goes
Mo's Digital Challenge - hugs & kisses
Papertake Weekly - girlie
Tuesday Alchemy - buttons

Saturday, June 30, 2012

School's out!

A very simple card that I think is totally fun and appropriate for the end of the school year. The card is based on a sketch from C.P.S. and the papers are from Basic Grey. I created the wordart sentiment using Word and the image is just a digital colouring page I found online.

The only challenging part of this card was choosing the colour for the schoolhouse. My red Copics were too red and the oranges weren't red enough so I ended up blending  a colours until I was happy with the match. Truly the best part of using Copic markers! I added blue trim/roof to give a bit more colour (and you can't really tell in the picture but the background is light blue/green Copic and really light green).

Challenges:

Friday, June 29, 2012

Thank you teacher

Last day of the school year and the kids are completely excited! I had fun teasing my youngest (just finished grade 1) about the final day being filled with lots of tests but his brother took pity and told him the truth pretty quickly. Poor me, couldn't have fun for long at all. I guess I shouldn't complain though because I did get to make a bunch of cards for the boys' teachers (2 teachers for each boy!) so I had a busy week of creating. Here is the first card (and my favourite):

The papers are all Basic Grey and the digi is Jan Brett, coloured with Copic markers. I chose a sketch from Papertake Weekly as my starting point - honestly, I can't survive without sketches! I modified the sketch a bit by making the border punched strip larger and then not extending the middle strip (the ruler paper) to the bottom of the card. And, of course, I didn't add the sentiment separately since it was incorporated into the image itself.

Challenges:

Friday, May 25, 2012

Mother's day card

It's a bit late sharing, but I had to make sure my Mom had seen the card before I shared it here on the blog. This is her (late) Mother's Day card made with Basic Grey papers, peel-off outline stickers and Copic markers.

Supplies:
  • Basic Grey "Sweet Threads" patterned papers
  • Elizabeth Craft Designs "Tulips" peel-off outline sticker
  • Copic markers
  • Spellbinders "Floral ovals" die
  • Spellbinders "Beaded ovals" die
  • Spellbinders "Ironworks" border die
  • Buttons from stash
  • Pearls from stash
Challenges:

Monday, March 19, 2012

Part-time Pets

The latest issue of Scrapbooker Magazine includes a layout that I just had to scrap-lift! I've been wanting to scrapbook pictures of various animals that I've fostered over the past year and the grid layout that Scrapbooker Mag presented is just right.
To create the grid, I used a digital photo mask by Carina Gardner. It was so easy to pop the photos & clipart I wanted to use inside the mask and then just print the entire thing out on photo paper. Every section holds a picture of a different dog, cat or litter of kittens that I fostered in 2011. To finish off the edges of the photo grid, I added a strip of orange polka-dot ribbon (very thin, on the right side) as well as brown polka-dot ribbon that I pleated and taped along the bottom.

By the way, have you ever thought about fostering for your local animal shelter? Many animal shelters need foster homes for pregnant dogs/cats, litters of puppies/kittens as well as for animals recovering from injury or illness. Fostering is a wonderful option if you don't want a permanent pet, can't afford the care (the animal shelter usually covers all the costs) or aren't sure if you 're ready for a pet. I have my own "forever" pets but I really enjoy the foster animals too - right now I have a mother cat and her 4 kittens playing at my feet! If you are interested in fostering just contact your local SPCA, Humane Society, or other animal shelter.

 
Supplies - Basic Grey papers (Max & Whiskers), scrap ribbon, flower & button from stash, animal tags (created by cutting details from a larger patterned paper).

 
Challenges:

Tuesday, January 3, 2012

Out of this world

I am particularly pleased with today's 2 cards. First off, the images from Bugaboo are just such fun. Second, I went pretty wild with the colouring, using my favourite bold Copic colours that so rarely see the light. Next, I got to use patterned paper from my newest Basic Grey paper pack (and I luv my BG). I was pretty surprised, too, when I saw that the grey PP matched the grey coloured background of the stamps since I coloured these before picking my papers. But what really makes these cards special is that they are headed for the BC Children's Hospital via Send A Smile 4 Kids (Canada). The hospital is always looking for cards to use for their kids - these will be great to celebrate an achievement such as going home or making it through a tough procedure.

Challenges: